
Sometimes a picture is not enough, and you want to show exactly what is happening on your iPad. The tool for recording the screen is already built in, though it can be easy to miss at first. Below you’ll find how to screen record on iPad, with or without sound, where your clips end up and what to check when something goes wrong.
Table of Contents
Add the Screen Recording Control First
If you do not see a Record button when you open Control Center, it has never been added, and this is the most common reason people think the feature is missing.
- Open Control Center from the top-right corner of the screen.
- Tap the + at the top left, or touch and hold an empty area of Control Center.
- Tap Add a Control, search for Screen Recording, and select it.
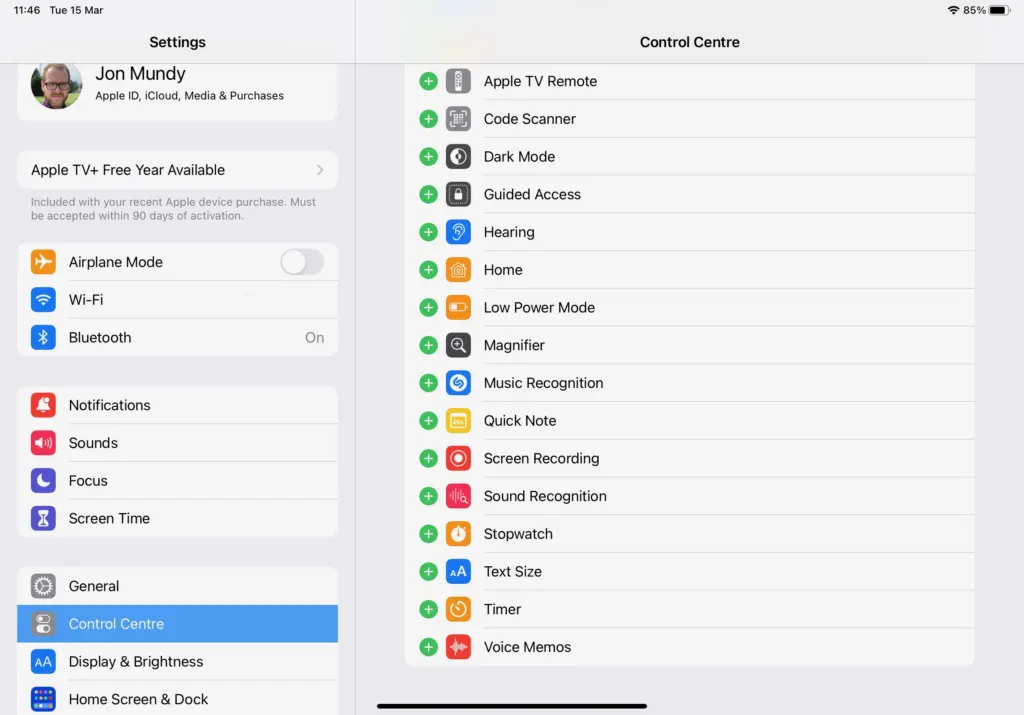
On older versions of iPadOS, the control is added from Settings instead: open Settings > Control Center and tap the + next to Screen Recording.
How to Screen Record on iPad
With the control added, one tap starts a recording, and the three-second countdown gives you time to leave Control Center.
- Pull Control Center down from the top-right corner.
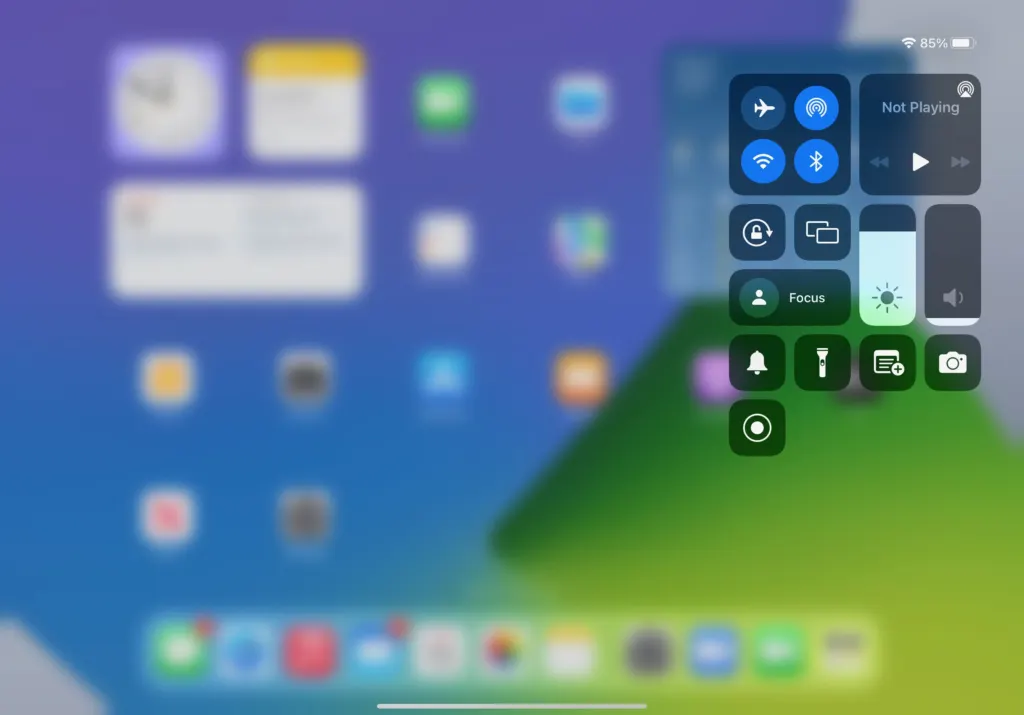
- Tap Record and let the countdown run.
- Swipe up to dismiss Control Center and switch to whatever you want on video.
To finish, tap the red indicator at the top of the screen and confirm with Stop, or tap the red Record button in Control Center. Everything on screen is captured, notification banners included, so turn on Do Not Disturb before you start if you do not want a message to appear in the video.
Screen Record on iPad With Sound
Sound playing from the iPad is captured on its own, and the microphone adds your voice on top, for narrating a tutorial or a call. The microphone switch lives behind the Record button, so a plain tap will not turn it on.
- Open Control Center again.
- Press and hold the Record button.
- Tap Microphone to turn it on.
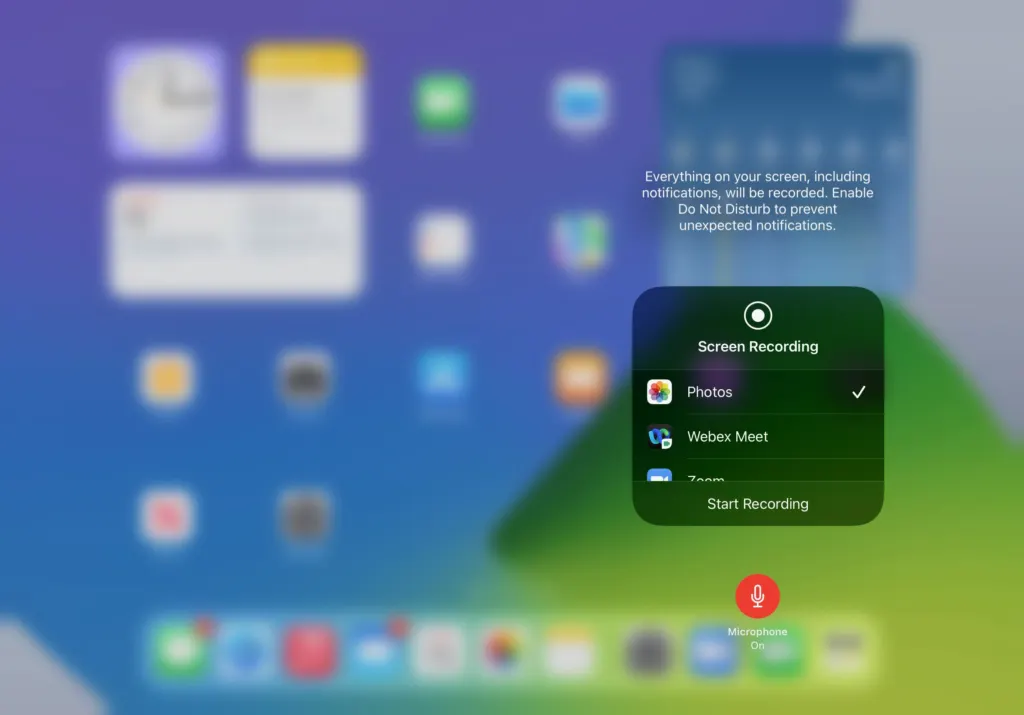
- Tap Start Recording and wait for the countdown.
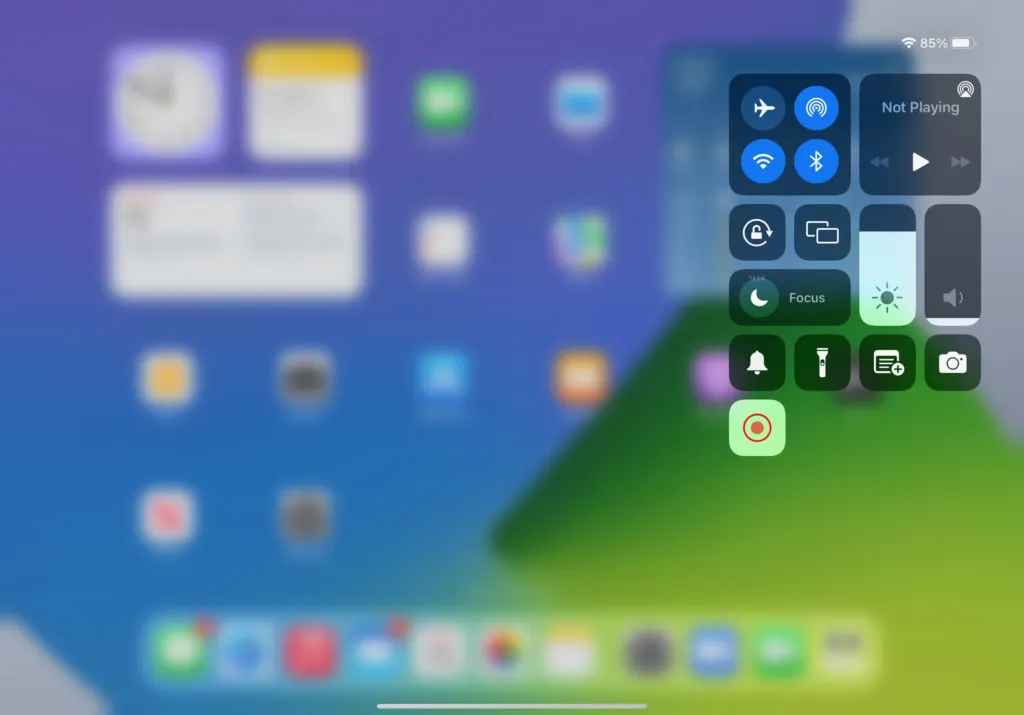
While a recording runs, the Record button in Control Center stays red.
Some apps do not allow their audio or video to be recorded, so a silent or black clip from a streaming app is the app’s restriction, not a fault with your iPad.
Where Screen Recordings Are Saved
Every recording lands in your photo library by itself. To send one to a Mac or iPhone, AirDrop it, and if the transfer fails, see the AirDrop not working fixes.
- Open the Photos app.
- Tap Collections, then scroll to Media Types.
- Tap Screen Recordings.
To trim the start and end, open the clip, tap Edit, and drag the handles.
If Screen Recording Is Missing or Fails
Match what you see to the likely cause:
| What happens | Cause and fix |
|---|---|
| No Record button in Control Center | Add it as shown above |
| Control was added but Screen Recording does nothing or is greyed out | Screen Time may be blocking it. Go to Settings > Screen Time > Content & Privacy Restrictions > Content Restrictions and set Screen Recording to Allow |
| Recording stops or fails to save | Check free storage, because a recording can stop when the iPad runs short on space |
| Black video or no audio from one app | The app blocks recording of its content |
| Recording will not start while casting | Screen recording and screen mirroring cannot run together, so stop mirroring first |
Recording your screen is handy for tutorials, bug reports and keeping a clip you cannot download. Clips take up space, so it helps to keep them short and tidy.