You open the BIOS to turn on Secure Boot and find the option dimmed, with no way to select it. It is rarely a fault, just the firmware waiting on something to be set up first. The steps below cover why Secure Boot greyed out in BIOS happens and how to get the option working again on ASUS, MSI, Gigabyte, HP and other PCs.
Table of Contents
- Check Secure Boot Status in Windows First
- Open the BIOS Settings
- Secure Boot Greyed Out in BIOS: Turn Off CSM
- Set Secure Boot Mode to Custom on ASUS Boards
- Restore the Default Secure Boot Keys
- Set a Supervisor or Administrator Password
- Disable Fast Boot, Reset Security Defaults or Update the BIOS
- Confirm Secure Boot Is On
Check Secure Boot Status in Windows First
System Information tells you the current state and whether the PC can use Secure Boot at all.
- Press
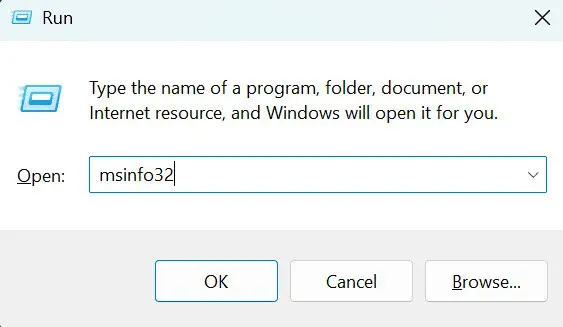
Win + R, typemsinfo32and press Enter. - Look at BIOS Mode and Secure Boot State in System Summary.
- BIOS Mode must be UEFI, not Legacy. The system disk also has to be GPT for UEFI boot; our guide on Secure Boot in User Mode and Setup Mode covers MBR versus GPT.
- Secure Boot State set to On means there is nothing to change.
- Off means it can be enabled, and the steps below apply.
- Unsupported means the firmware doesn’t support Secure Boot. Contact the PC or motherboard maker, since no setting will fix that.
Before changing firmware security, have your BitLocker recovery key ready, because these changes can trigger a recovery prompt. See how to find your BitLocker recovery key.
Open the BIOS Settings
From Windows, the advanced startup menu leads straight into the firmware screen.
- Go to Settings > System > Recovery.
- Next to Advanced startup, click Restart now.
- Choose Troubleshoot > Advanced options > UEFI Firmware Settings.
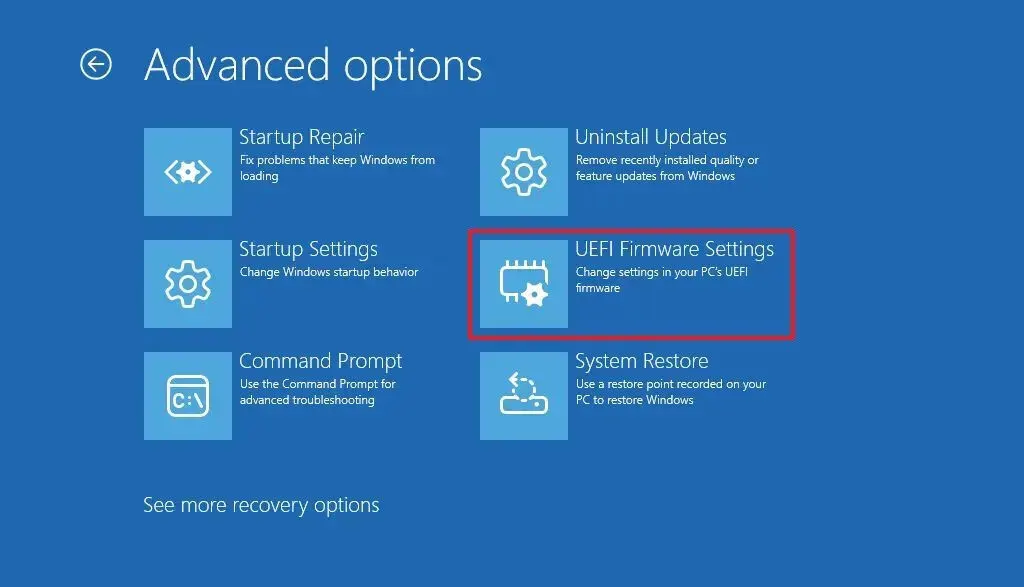
Other ways in are covered in how to get to the BIOS in Windows 11. Inside the BIOS, use the arrow keys with +/- or Enter to change a value. Changes don’t apply until you save and exit, which is often F10.
Secure Boot Greyed Out in BIOS: Turn Off CSM
Having CSM (Legacy Support) enabled is the most common reason the Secure Boot option is greyed out.
Disable CSM or set the boot mode to UEFI only. Do this only after confirming BIOS Mode is UEFI and the disk is GPT, otherwise Windows may not boot. The menu path differs by brand:
- ASUS: Boot > CSM > Launch CSM > Disabled
- MSI: Settings > Advanced > BIOS CSM/UEFI Mode > UEFI
- Gigabyte: Boot > CSM Support > Disabled
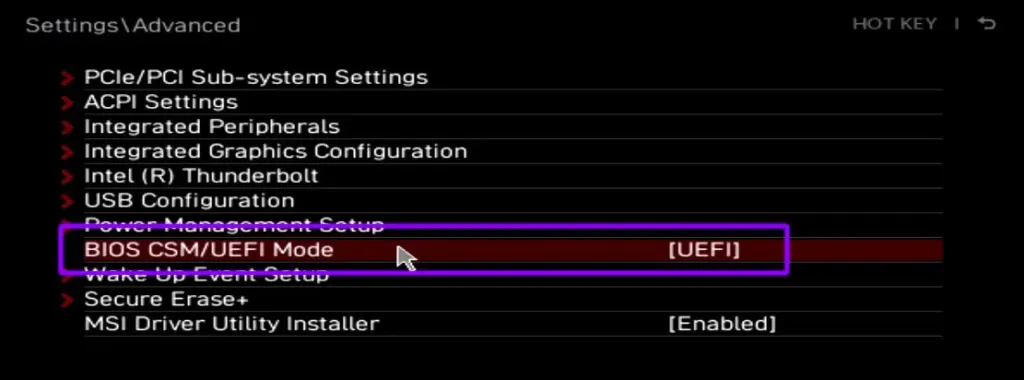
Save and exit, then re-enter the BIOS to see whether Secure Boot can now be selected.
Set Secure Boot Mode to Custom on ASUS Boards
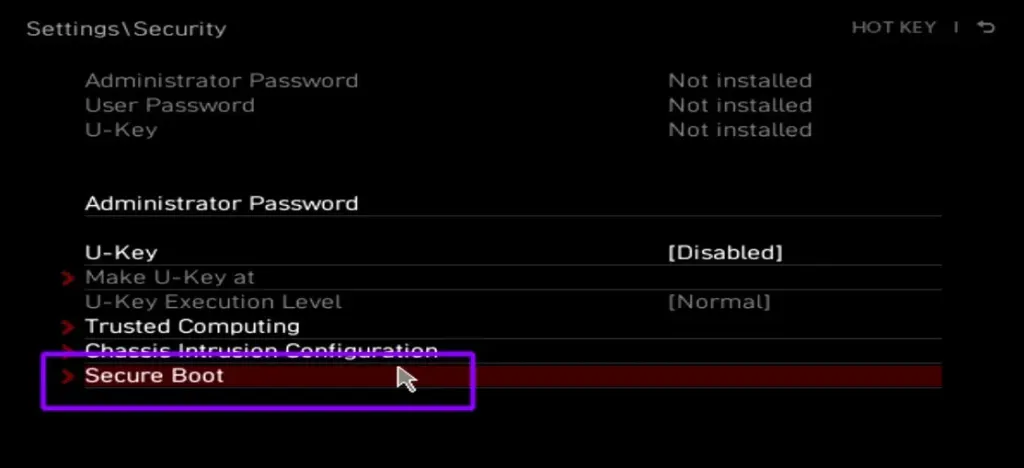
On ASUS, the Secure Boot State line is grey by design. It is a read-only status that follows the keys, so you change OS Type, Secure Boot Mode or the keys instead. With OS Type set to Windows UEFI mode and keys installed, the state shows On.
Key Management is greyed out while Secure Boot Mode is Standard. Set it to Custom to reach it.
Restore the Default Secure Boot Keys
If the keys are missing or cleared, the PC sits in Setup Mode and the option can stay dimmed.
- Open Key Management.
- Choose Install default Secure Boot keys or Restore Factory Keys, and confirm.
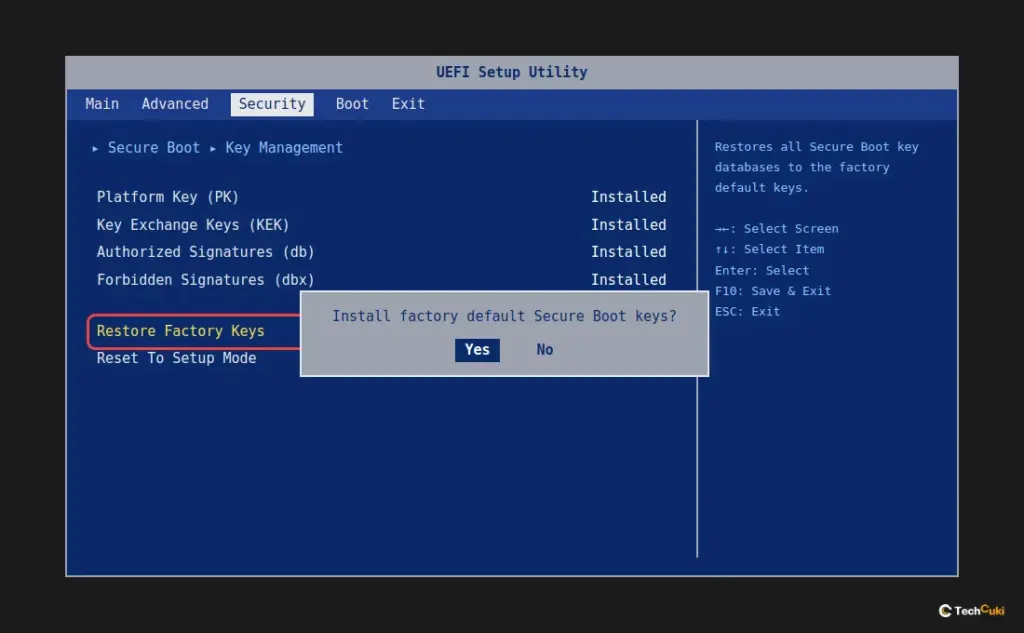
On HP, go to System Configuration > Boot Options > Load HP Factory Default Keys.
Set a Supervisor or Administrator Password
Some PCs, including HP, Lenovo, Dell and many laptops, only let you change Secure Boot once a supervisor or administrator password exists. Create one on the BIOS Security tab, write it down, and then return to the Secure Boot setting. On most PCs you can remove the password afterward.
Disable Fast Boot, Reset Security Defaults or Update the BIOS
On some boards, Fast Boot can block the option, so turn it off in the BIOS and check again. If it is still greyed out, restore the BIOS security settings to their defaults. As a last step, update the BIOS from the PC or motherboard maker’s support page; checking your BIOS version in Windows 11 shows what you currently have.
Confirm Secure Boot Is On
After saving and booting into Windows, open msinfo32 again and check that Secure Boot State reads On. For the full enabling steps, see how to enable Secure Boot in Windows 11. If Windows then reports a problem at startup, the Secure Boot violation guide helps.
A dimmed option looks like a dead end, but it is almost always the firmware waiting on a prerequisite. Each change is easy to reverse if something behaves oddly afterward.